The security blind is mounted with three 1/4″ bolts across the front and one on each side – above is the left side. they are all mounted in brass rubber insulated nuts. If the screws had also been brass they would have come out nicely, but they are steel and they rusted of course. The three back bolts came out through the 1/2″ holes in the fibreglass. The end nuts were also seized and just spun in place.
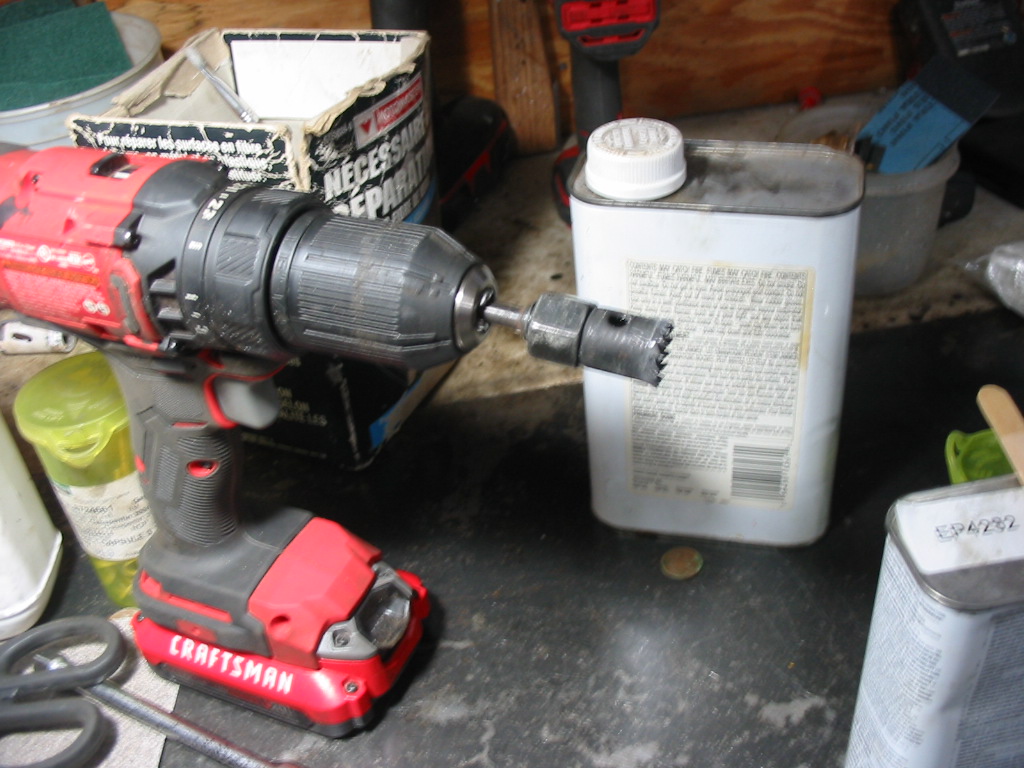
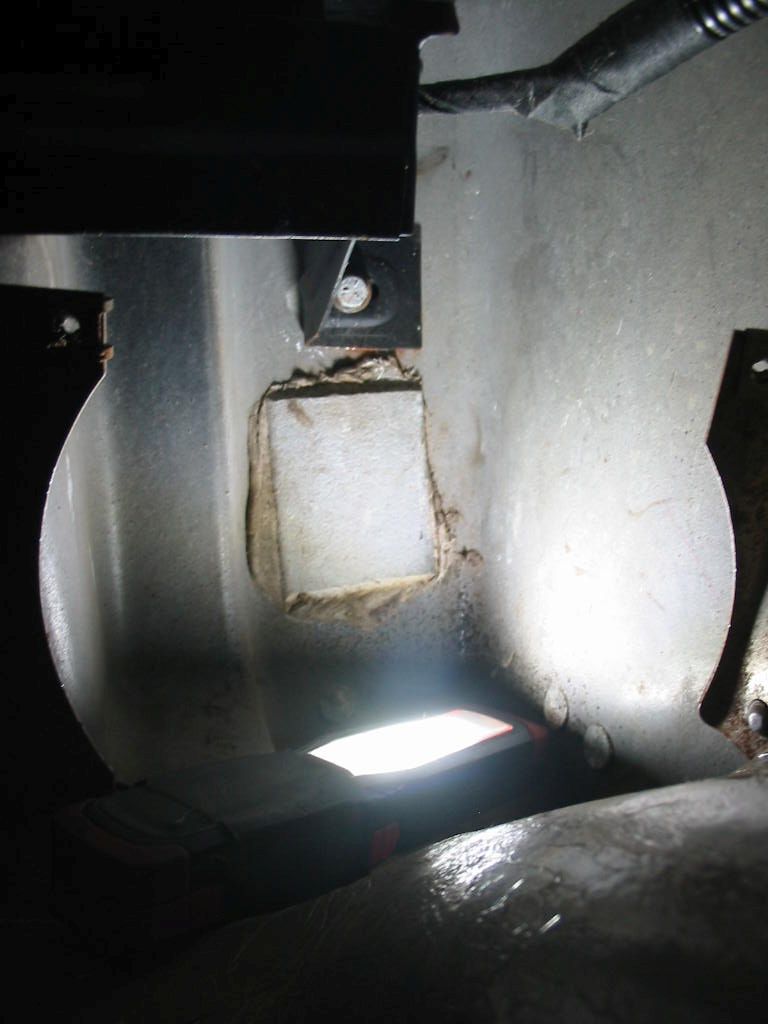
My answer to the end bolts was to use a metal cutter to free the frame from the bolt head. Worked well as there was a raised area around the bolt head and so I didn’t cut into the fibreglass.
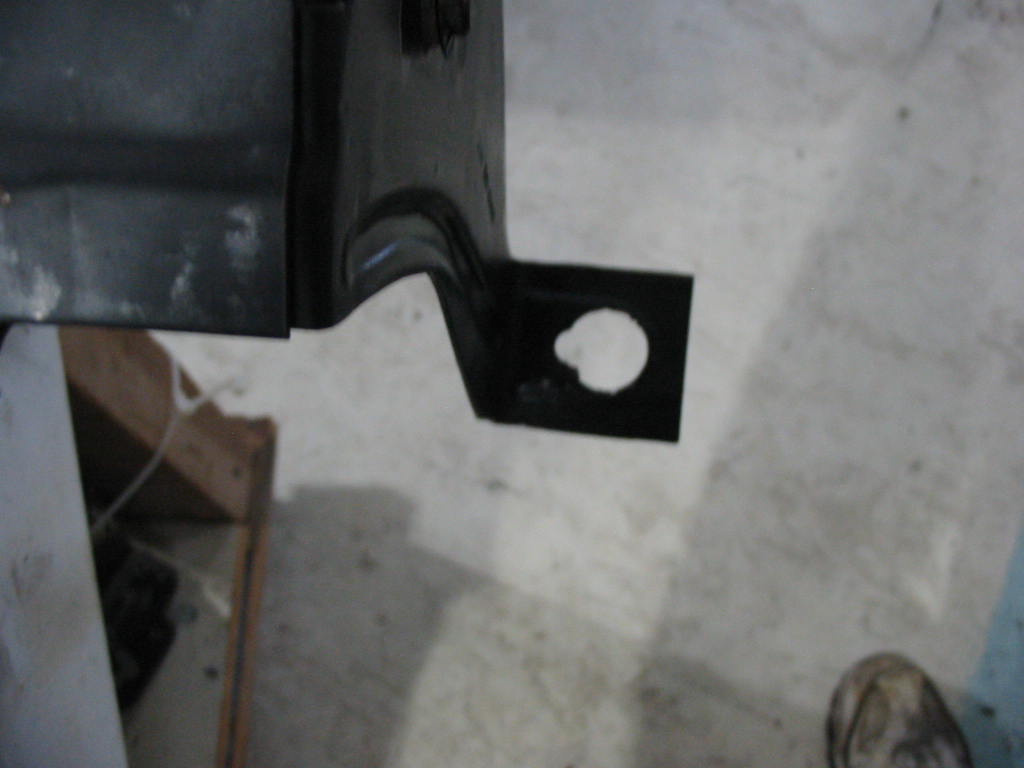
A much bigger hole, but I can handle that with large body washers that have small holes to handle the 1\4″ bolts
With the head free from the frame I was able to push it back and then get a hold on the rubberized nut on the back with vice grips.
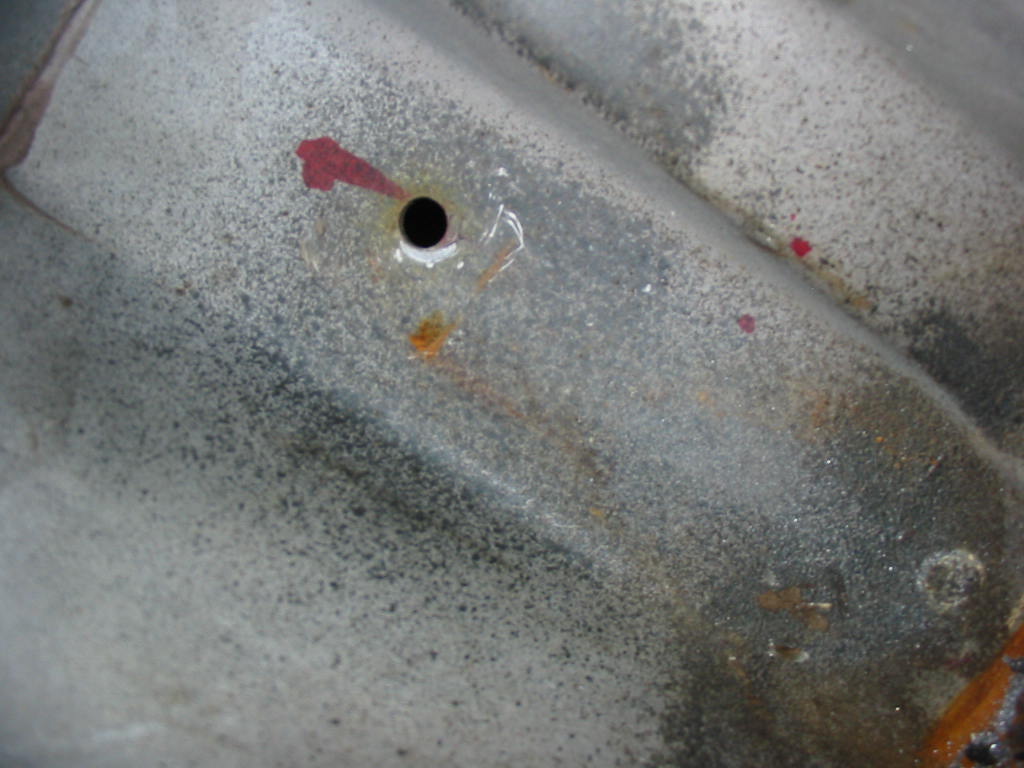
Bolt out and no damage to the 1/2″ hole.
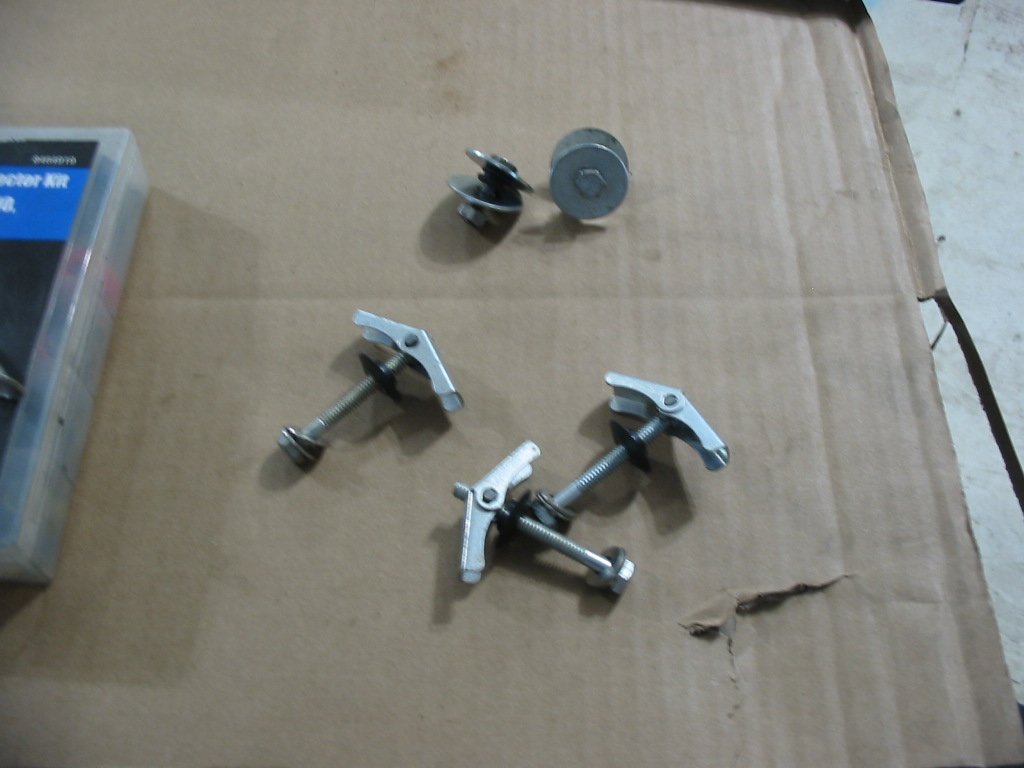
I had to expand the three blind holes holding the main body of the security blind so I could get these plaster board 1/4″ screw fittings in place. The grommets will seal the holes in the fibreglass. The two other bolts will hold the ends in place. I’ll push the bolts in from the wheel well(with sealant around the hole) and use nuts to tighten it all up. The grommet will fit in the fibreglass 1/2″ hole to help keep the bolt steady.

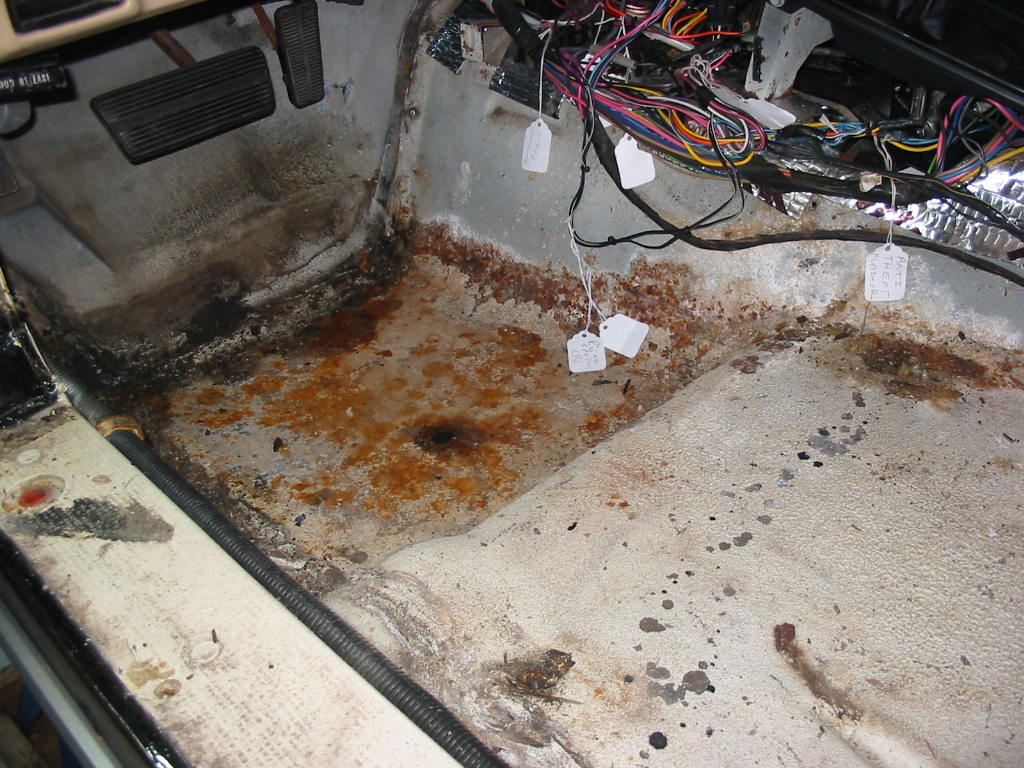
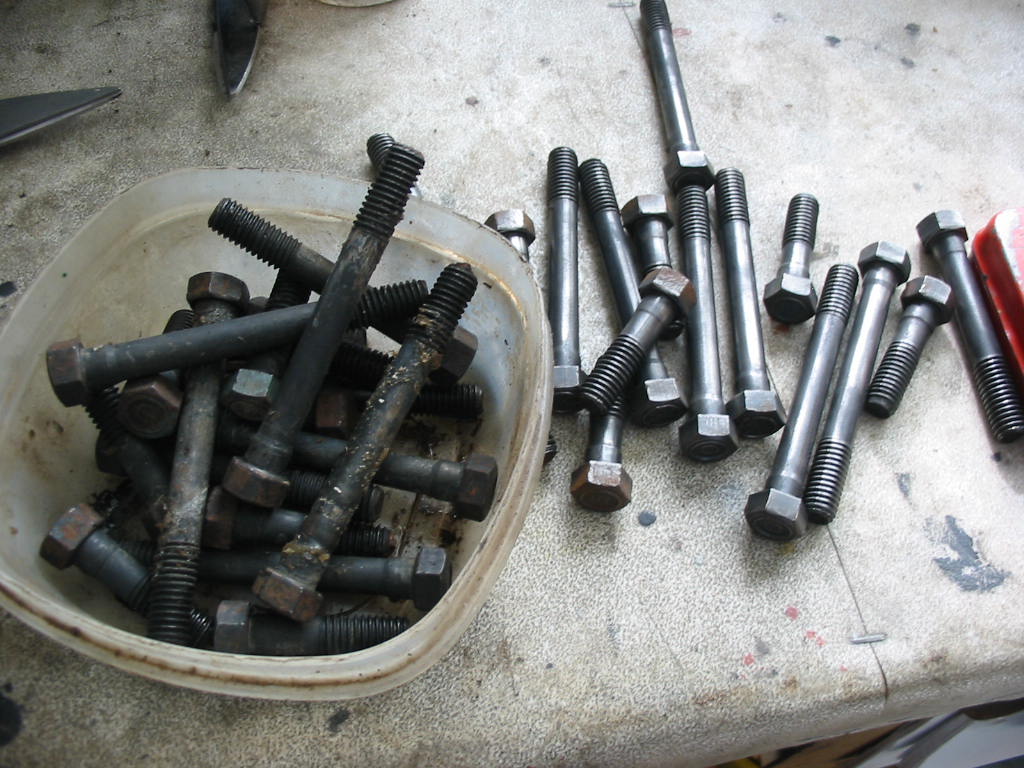
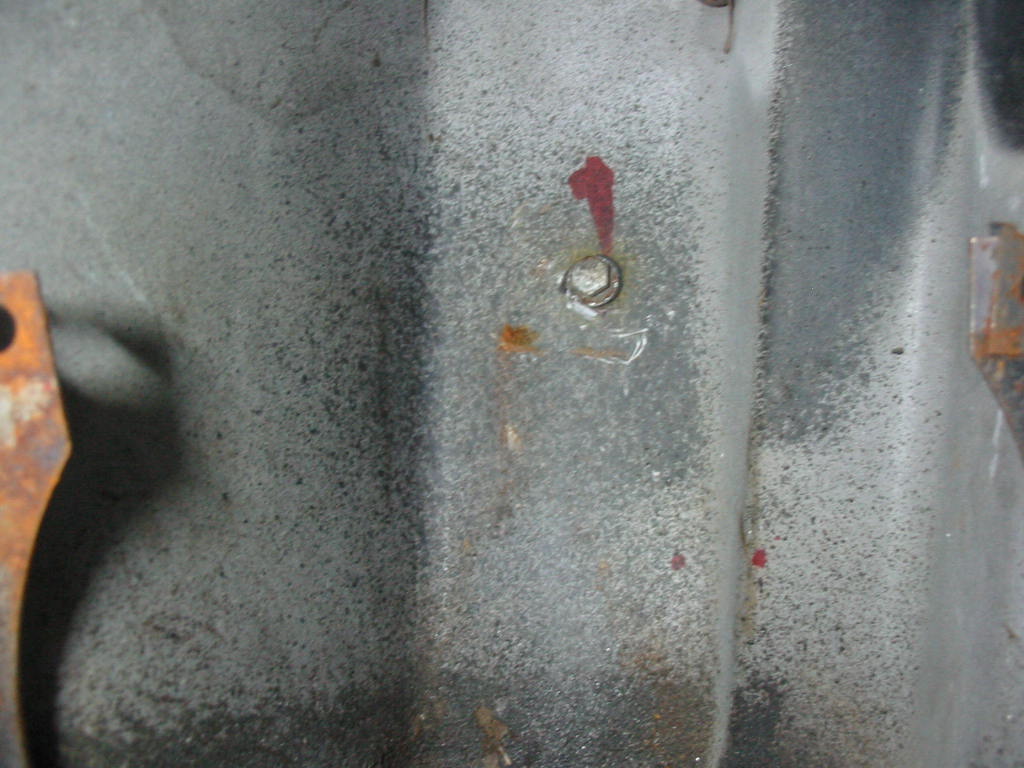
The body mount bolts on both sides are a bit rusty, but still quite solid. I’ll give them a good coat of heavy rust check once the sound deadening material is in place.
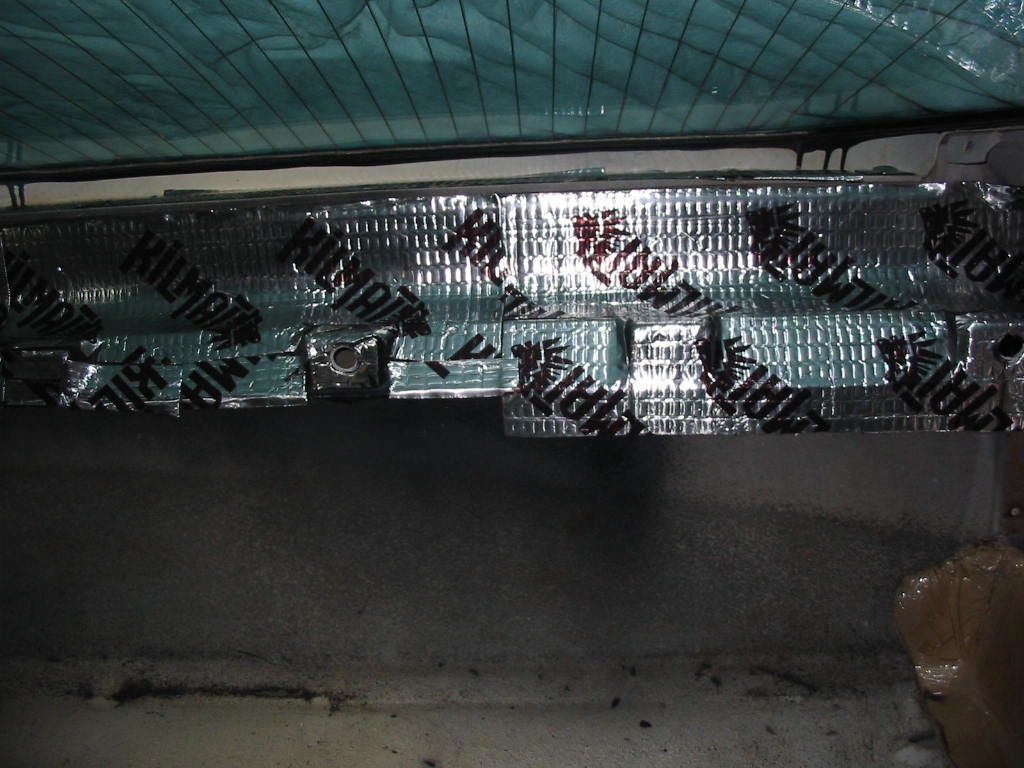
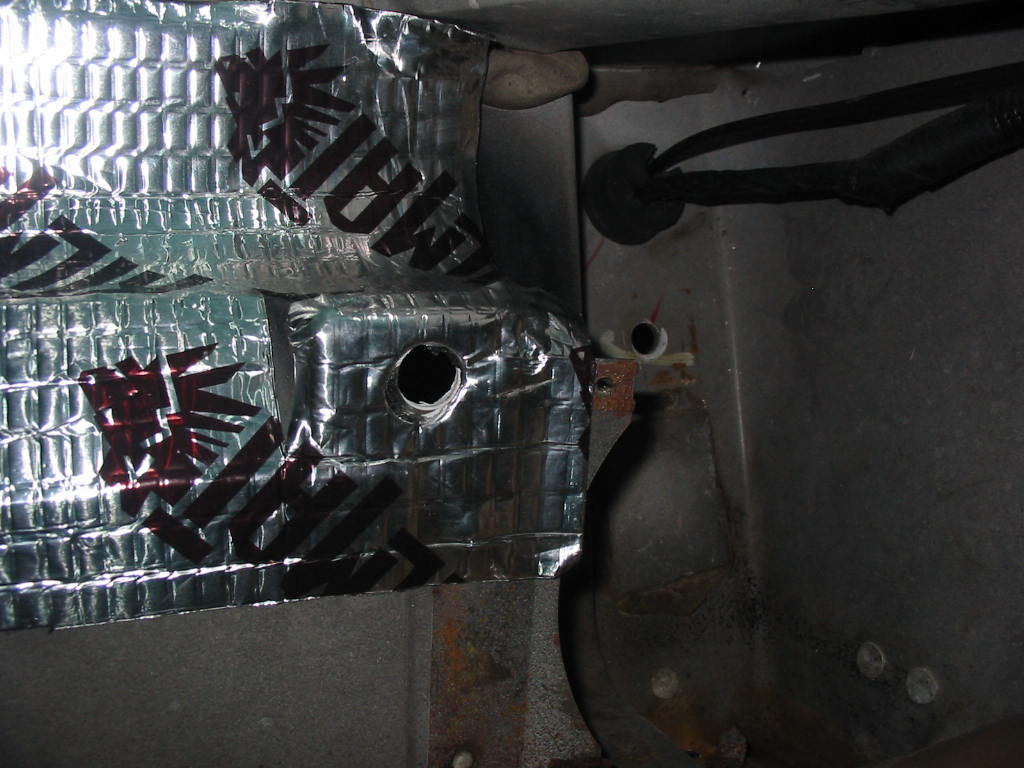
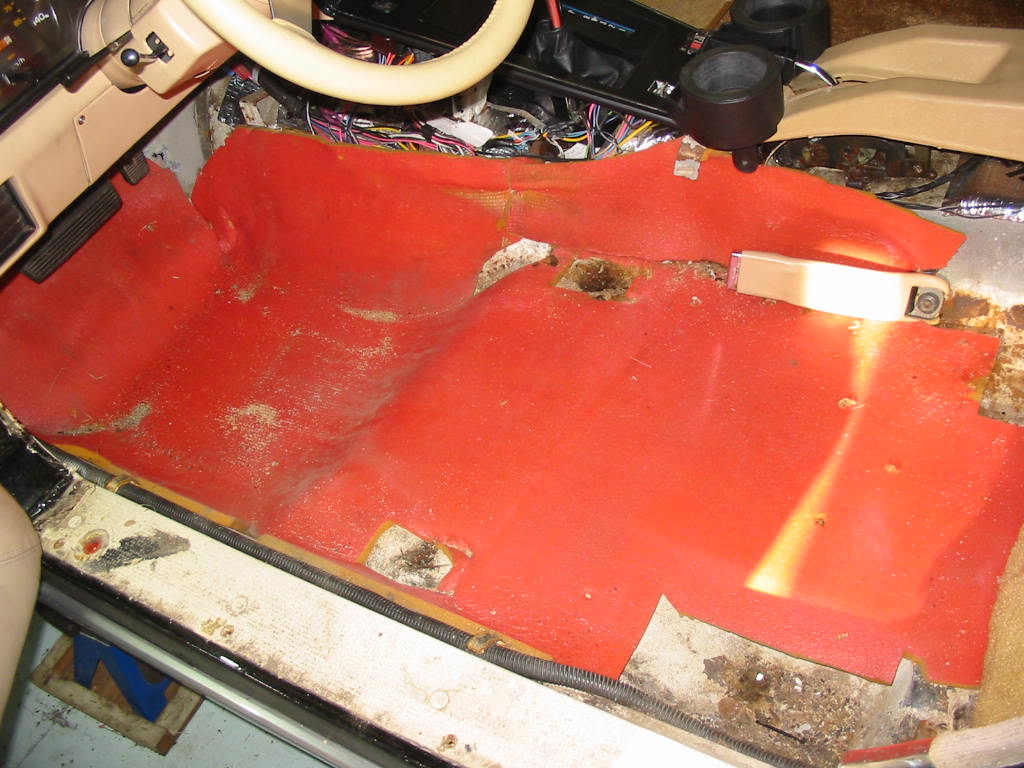
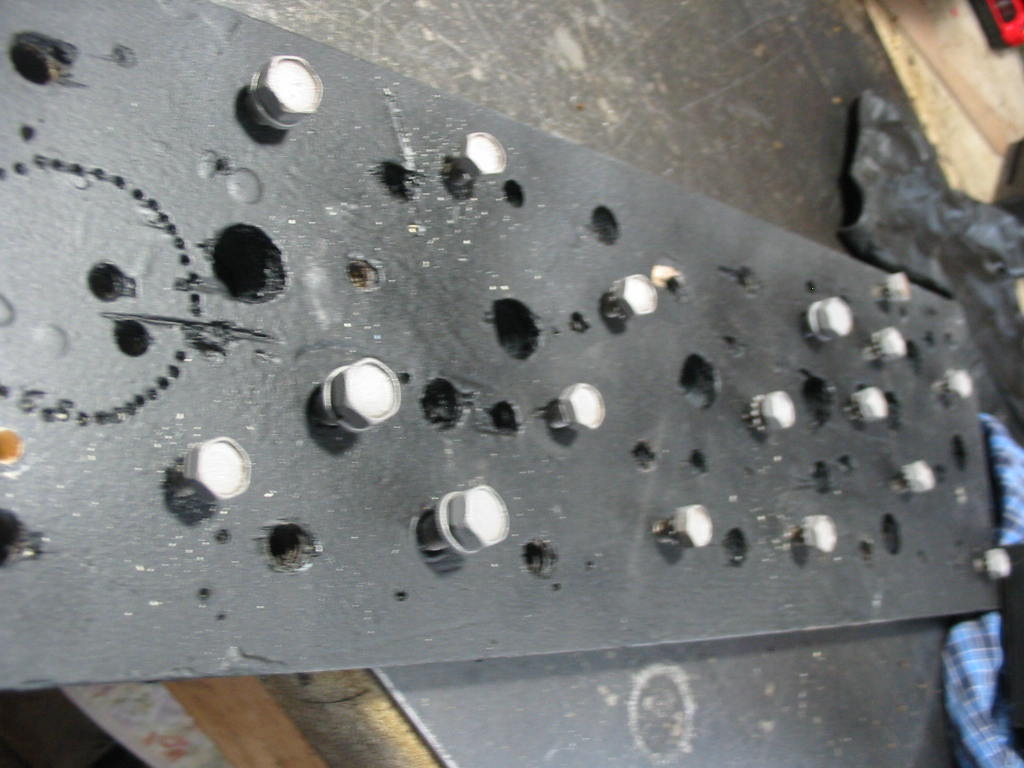
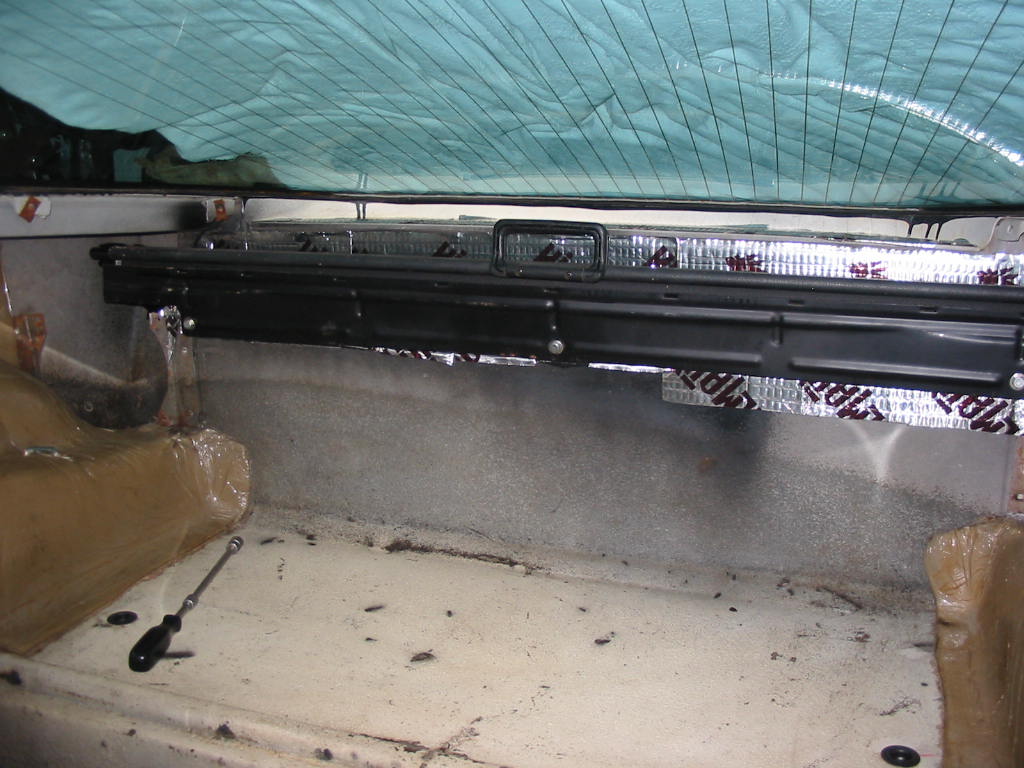
A layer of 50 mil sound deadening mat covering the area behind the security blind roll and frame. The mounting holes have been expanded from 1/2″ to 5/8″.
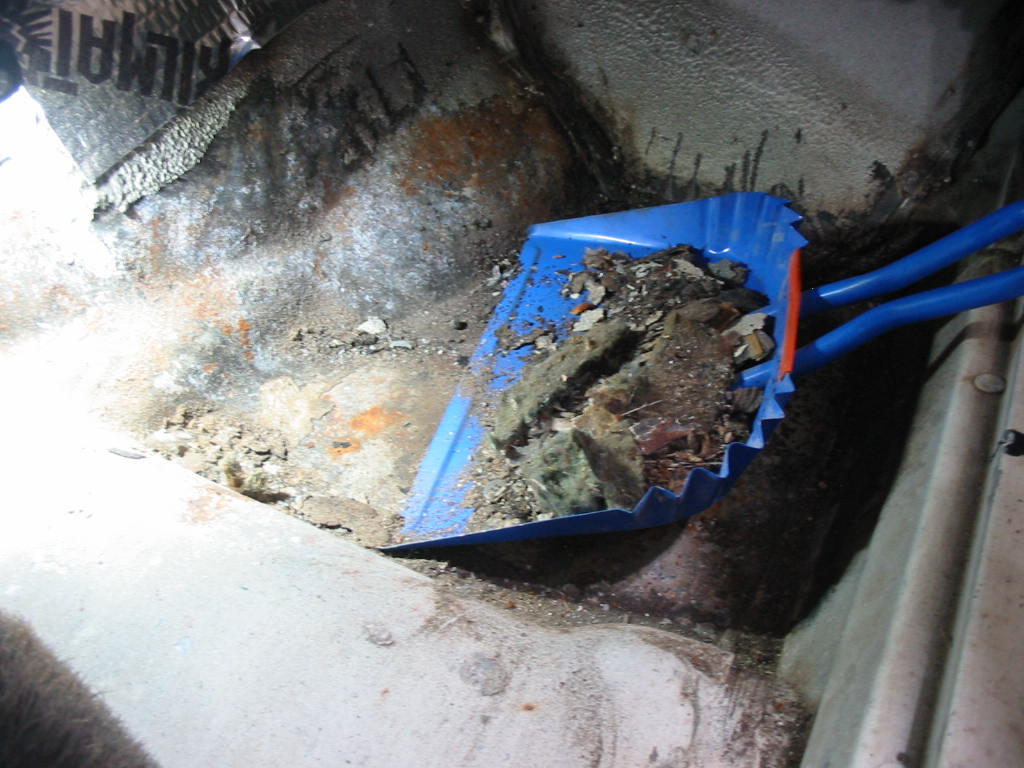
I’m using the left over Kilmat product here. I won’t be buying anymore as it’s produced in Russia. I’ve ordered another product (120 mil) that is likely made in China, but could be from the US. It’s a Siless product.
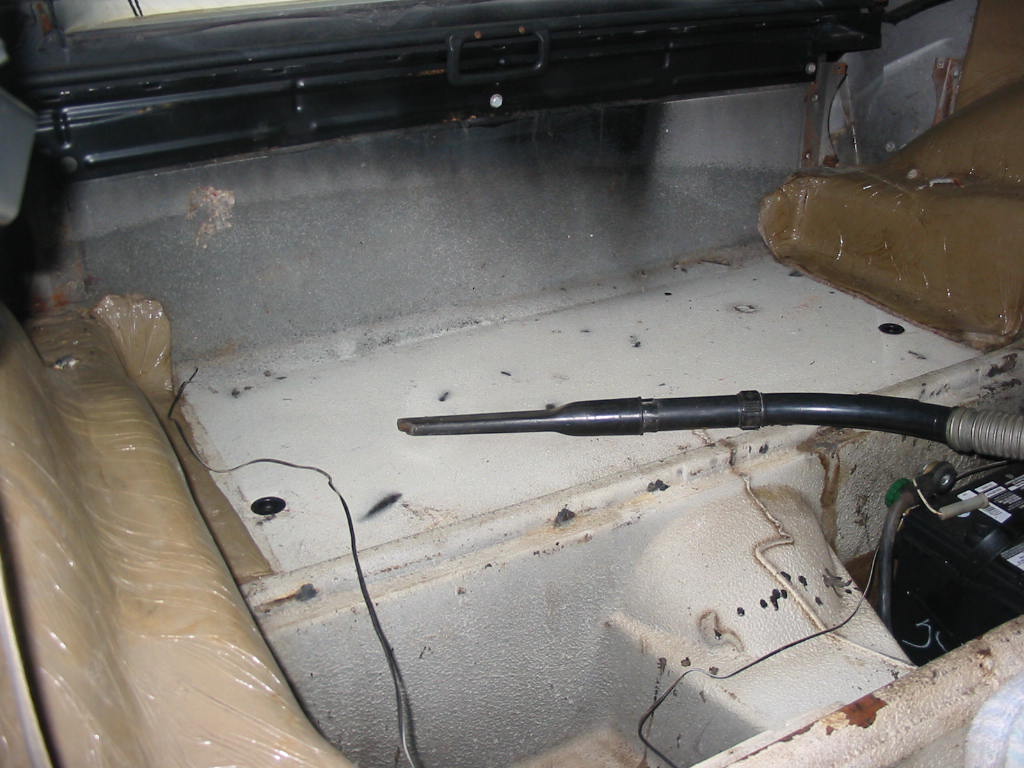
A bit of work and the security screen and bracket are in place 🙂
Next: more floor work.